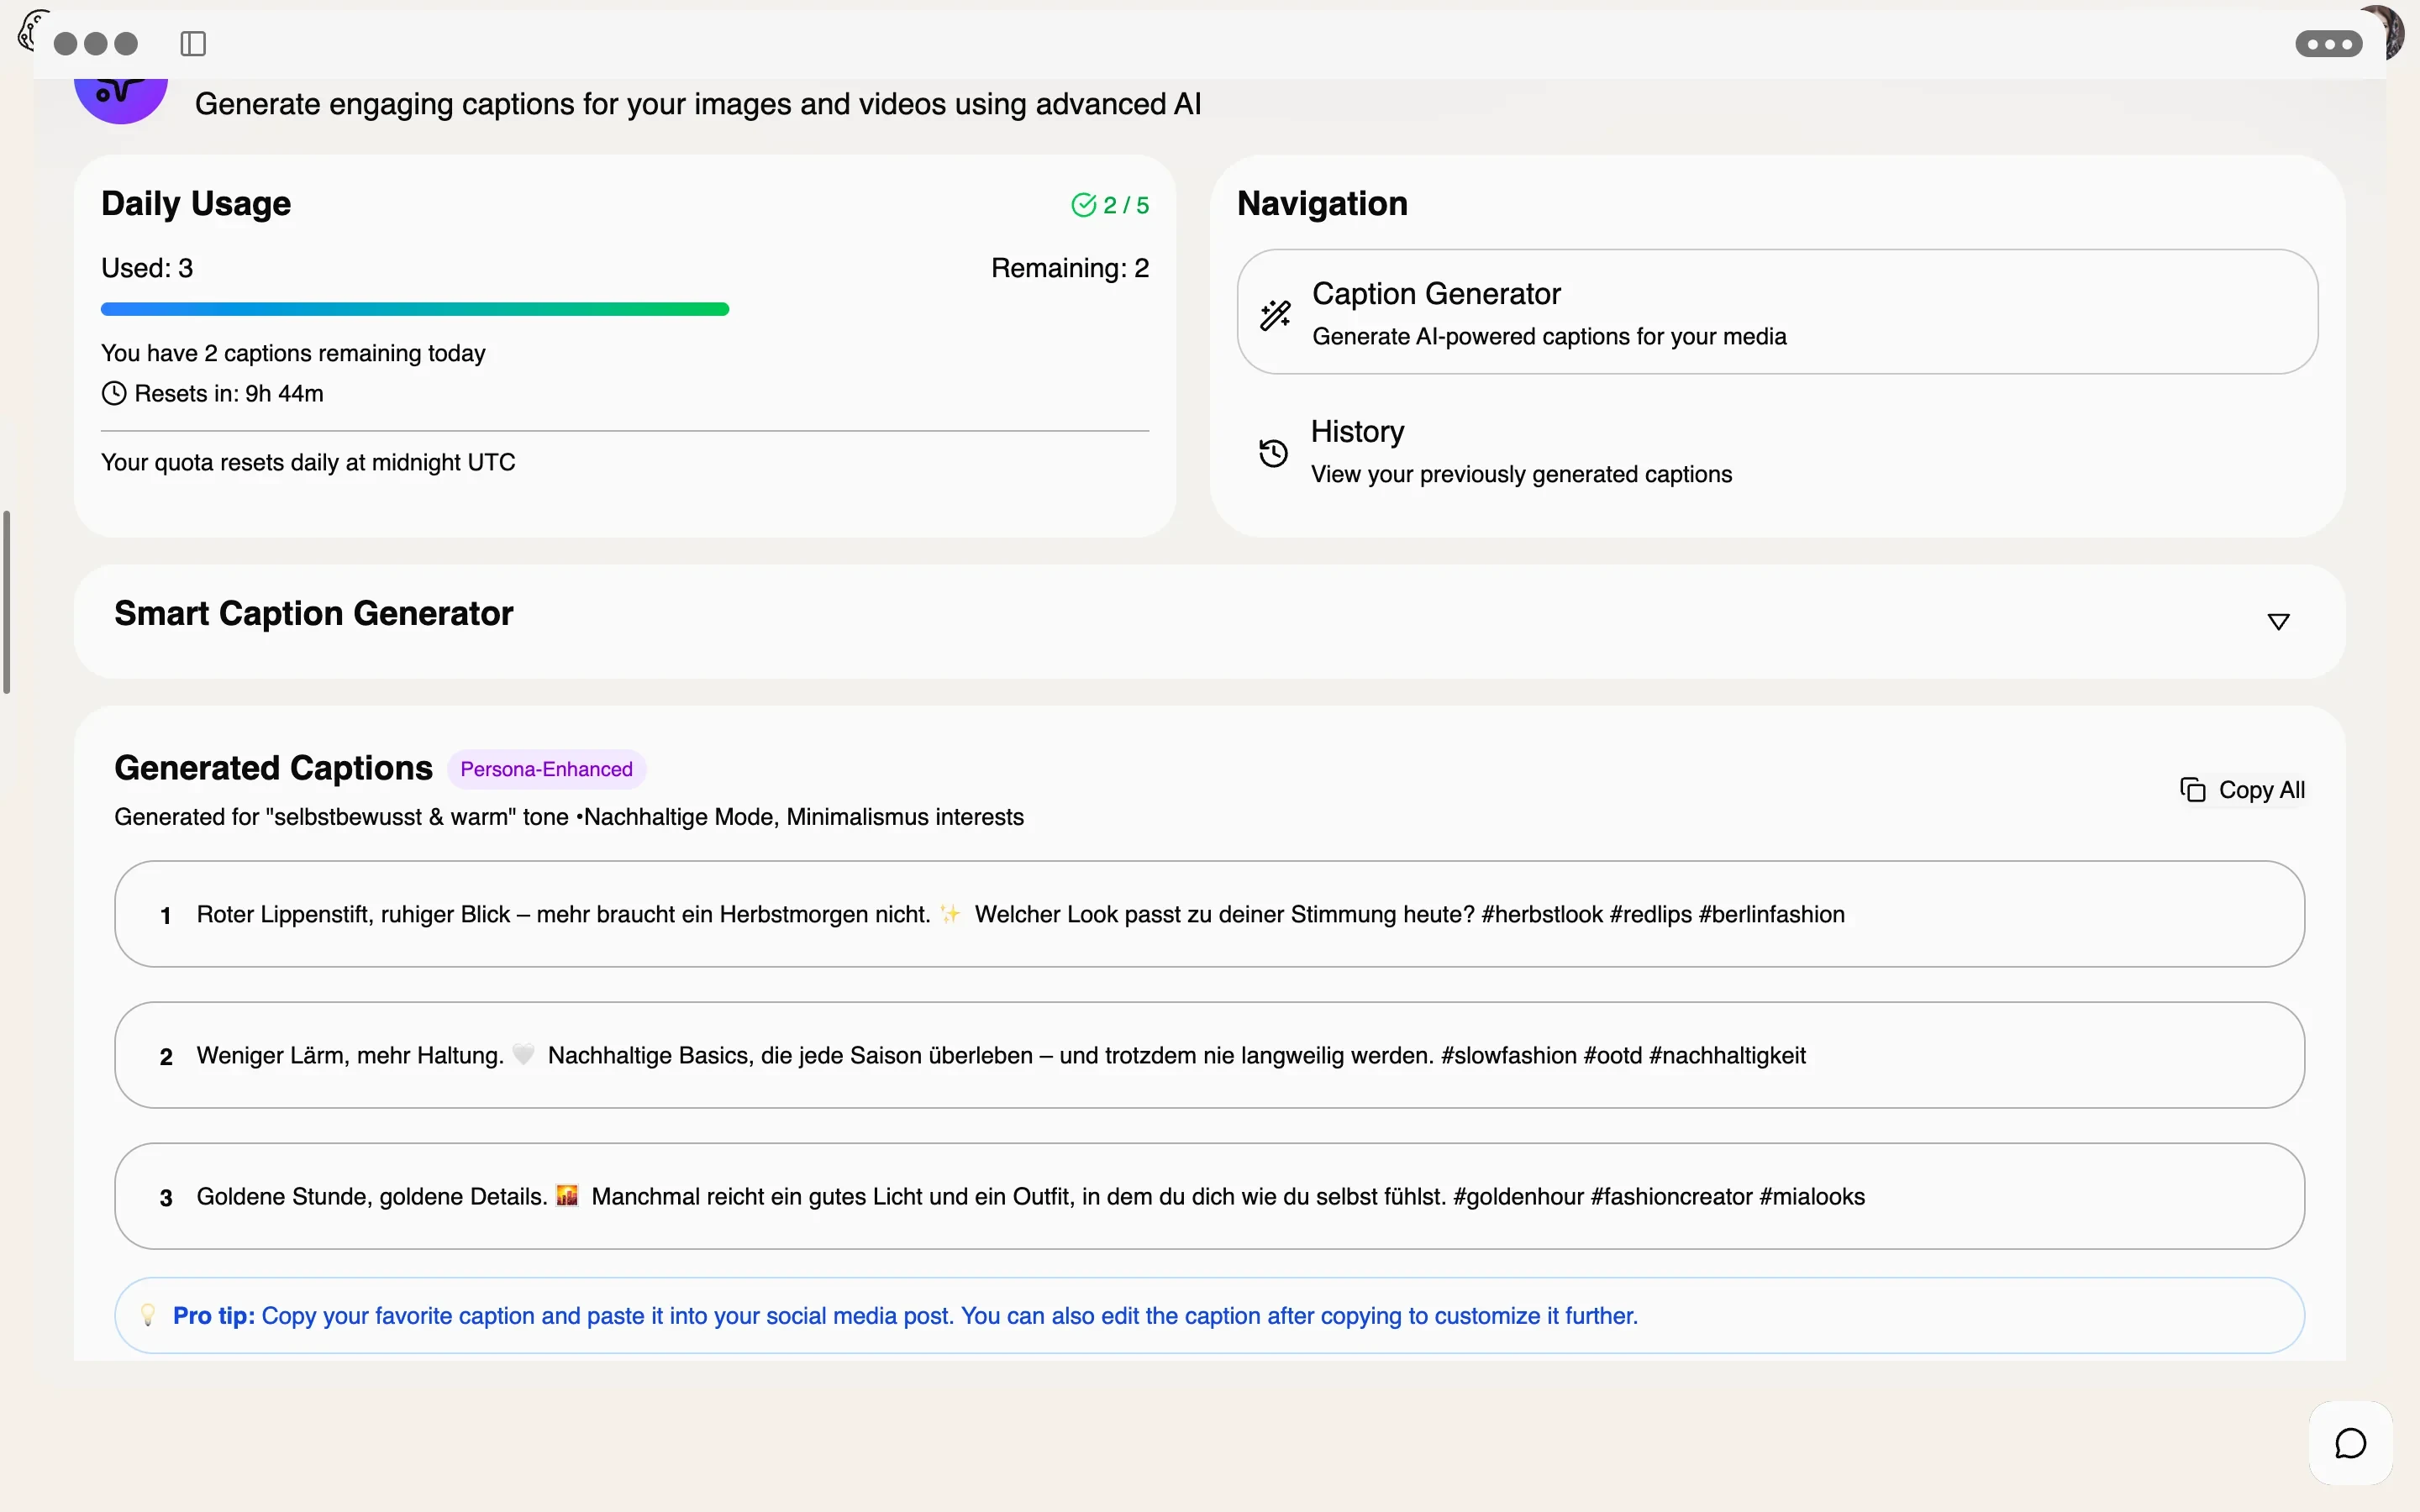
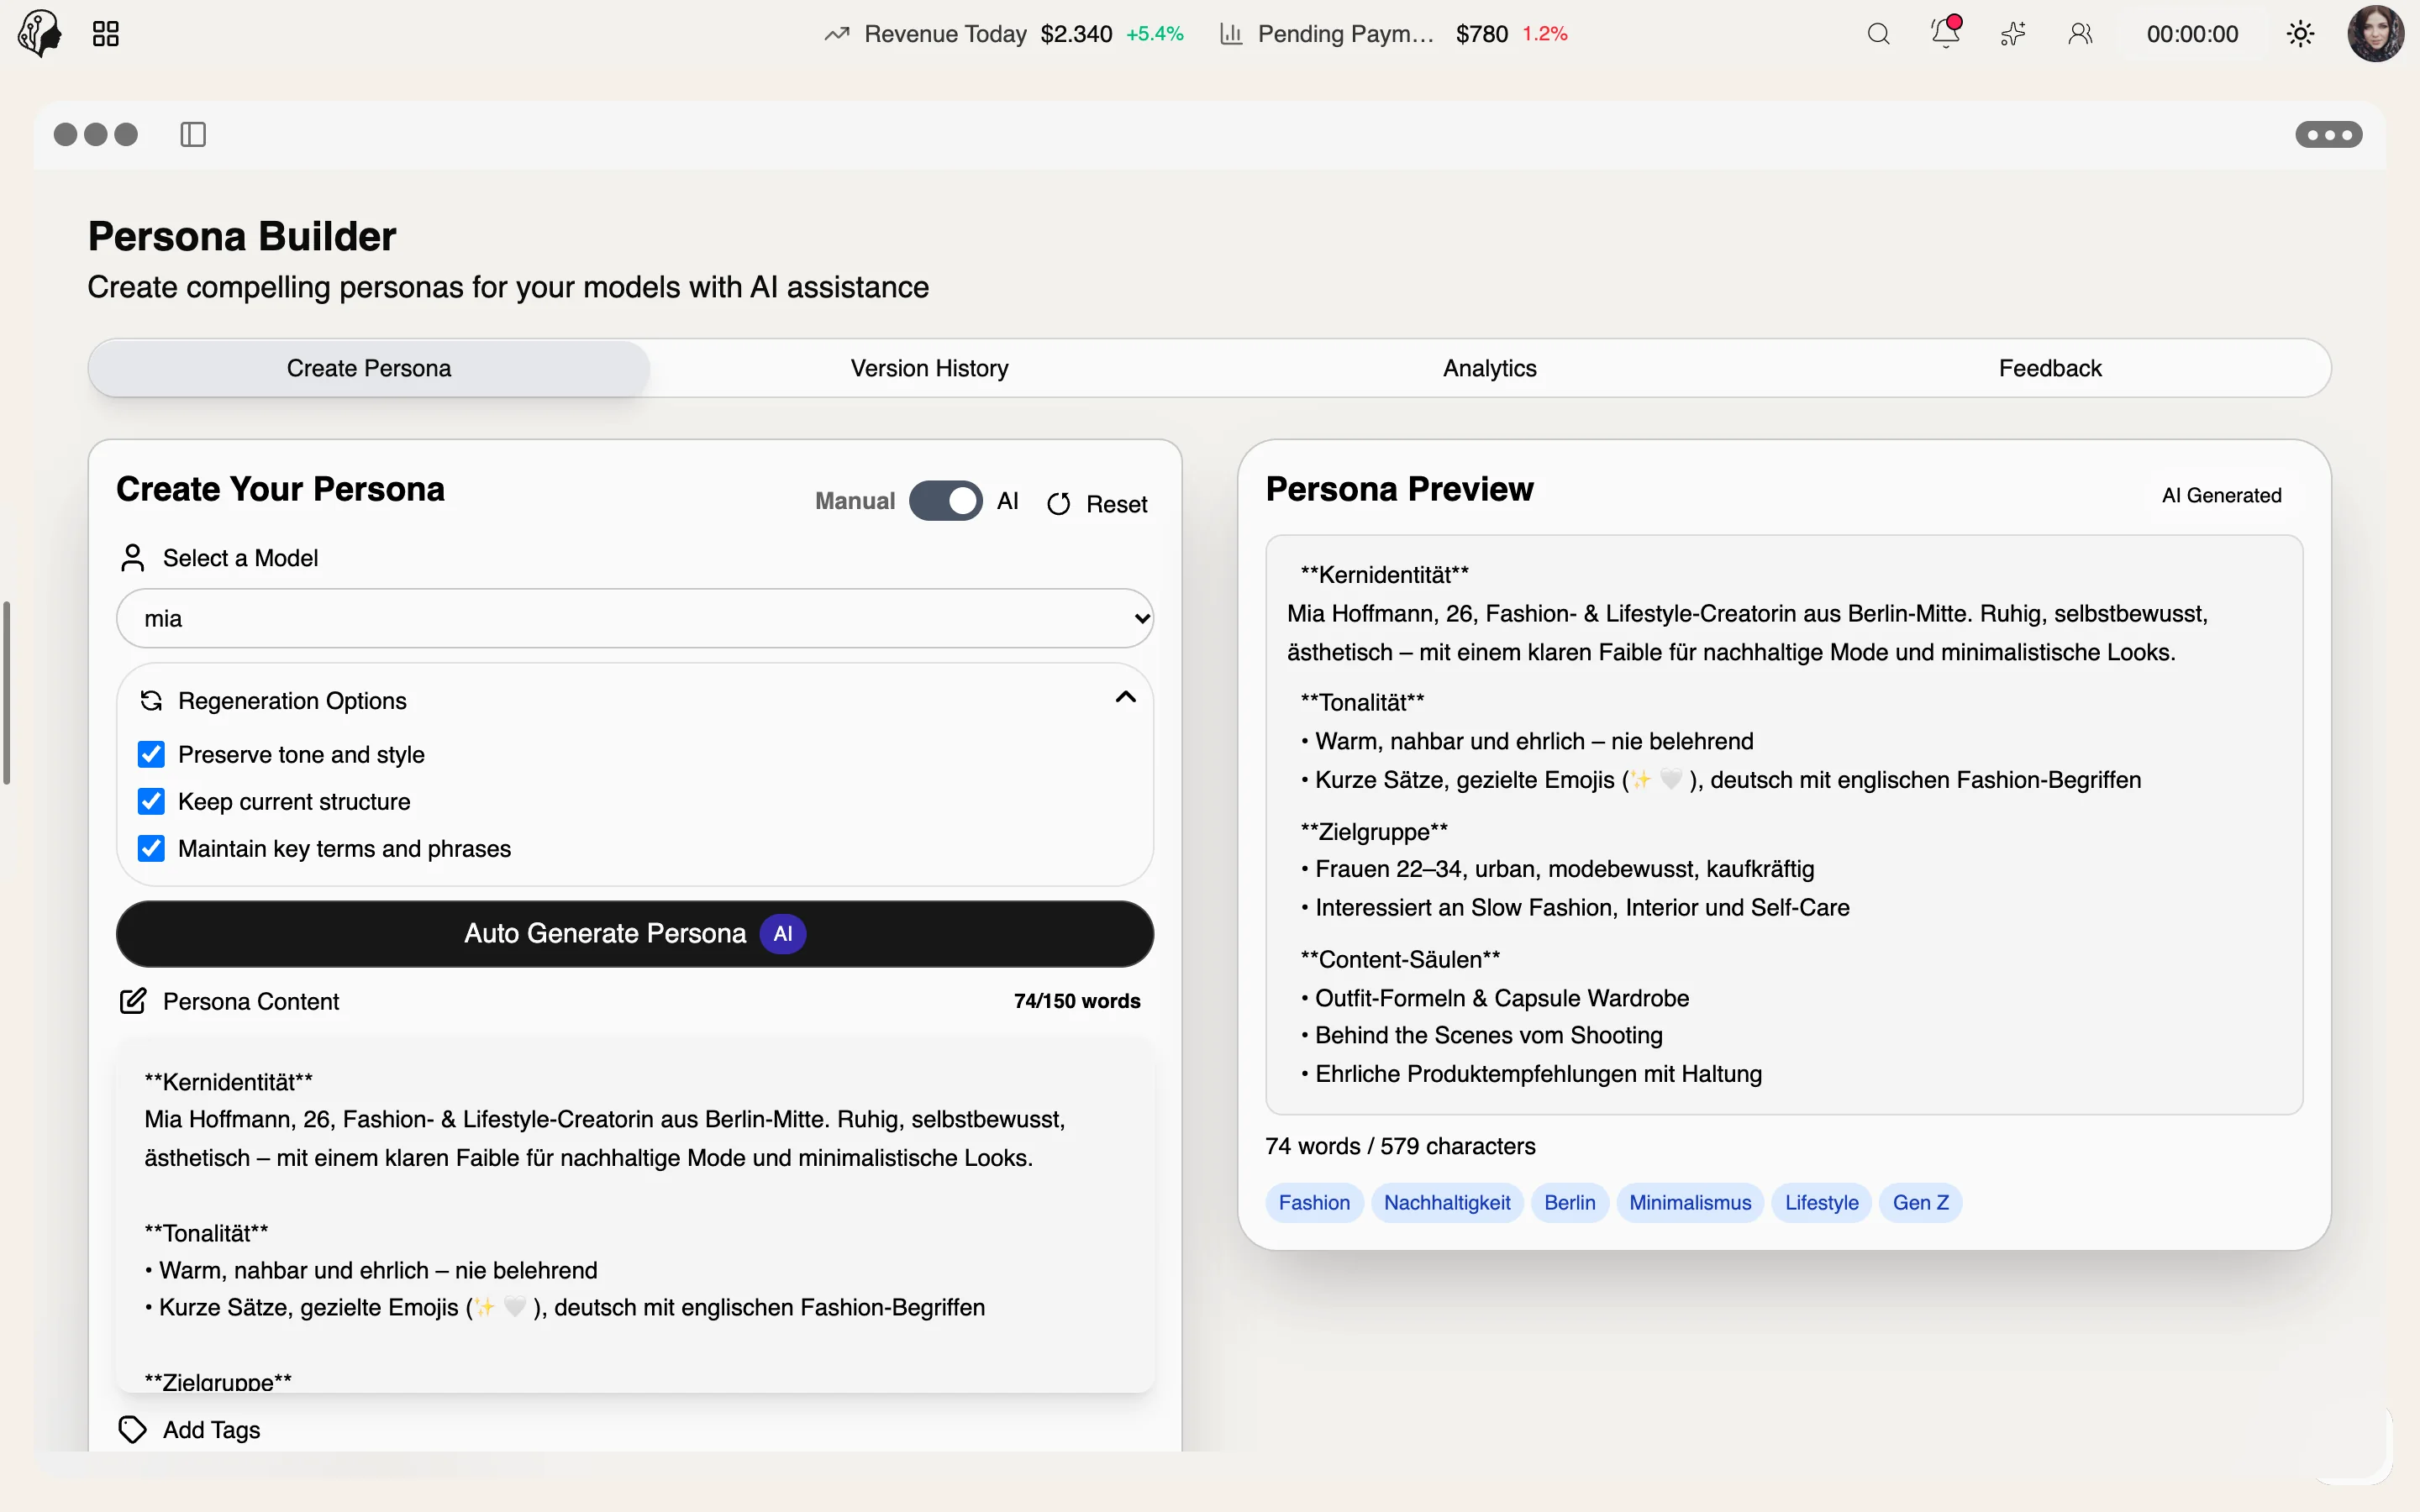
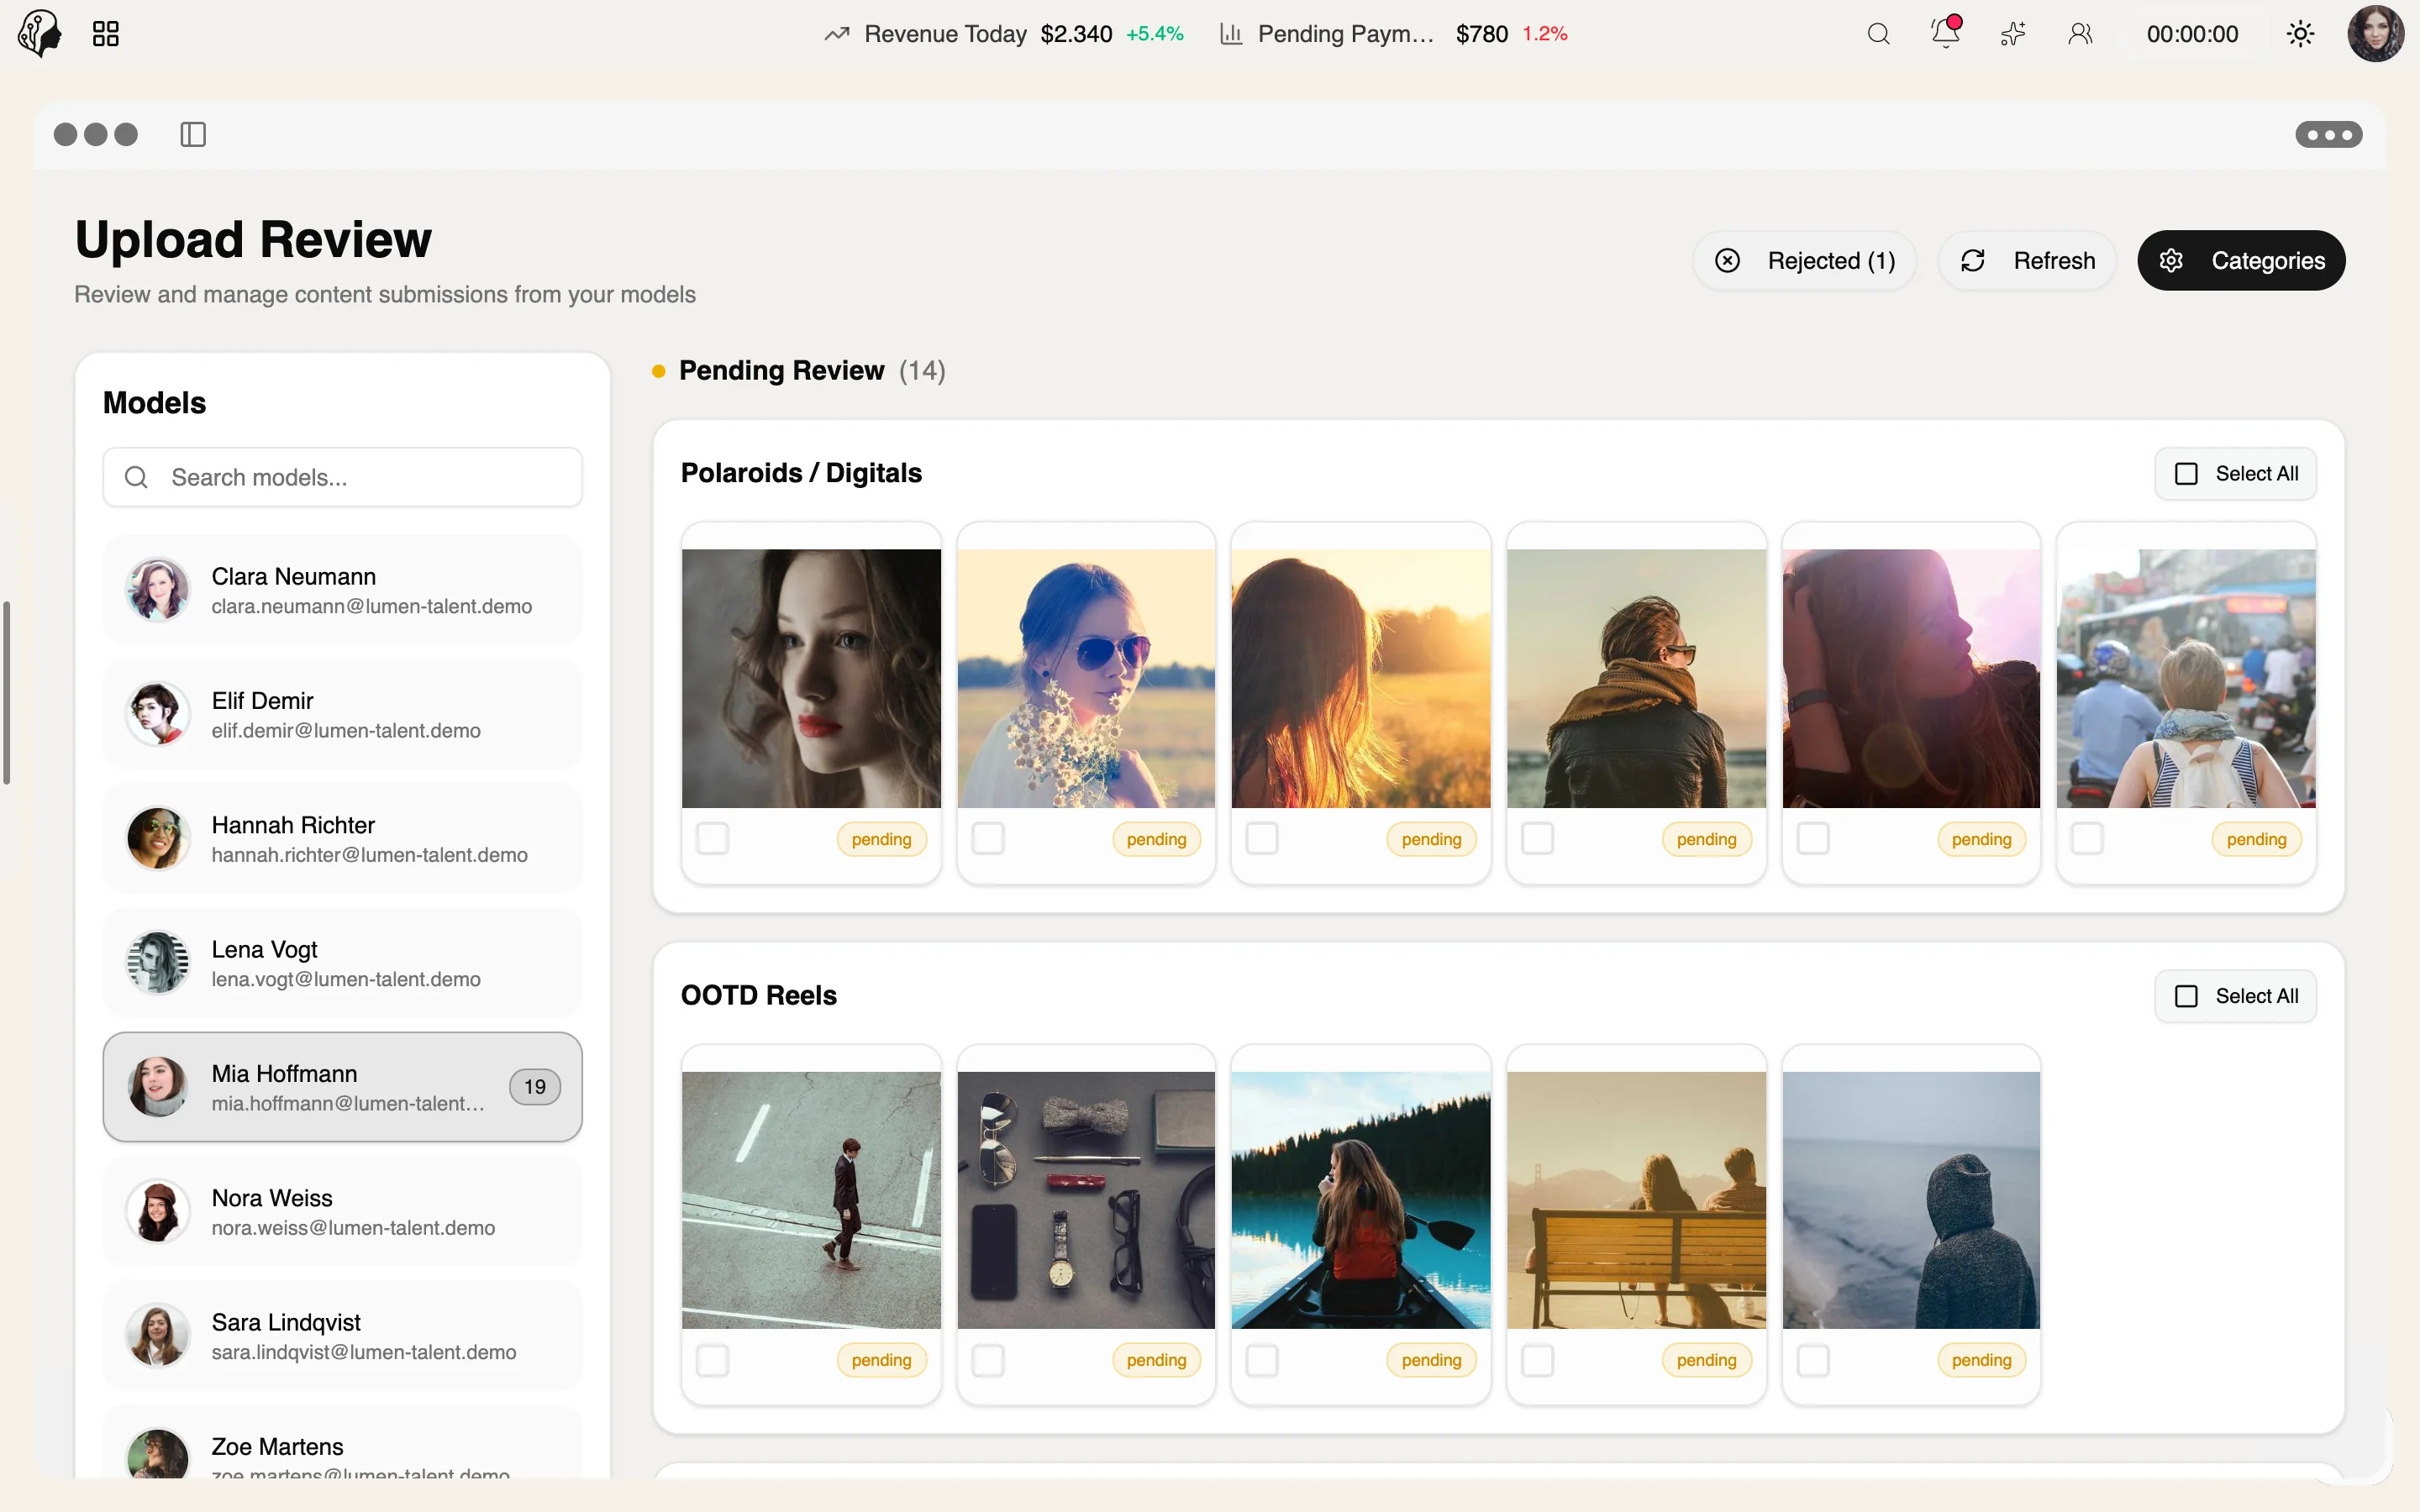
A shoot from start to finish
Step 01 · Plan
Step 02 · Prepare
Step 03 · Align
Step 04 · Collect
Step 05 · Refine
Edit the selection in the Image Editor, export with watermark.
Step 06 · Publish
Content & AI
Overview
A GPU-accelerated editor in the spirit of Lightroom: curves, color mixer, masks, brushes and skin-tone balancing – connected to Drive, with watermarked export.
See Image Editor live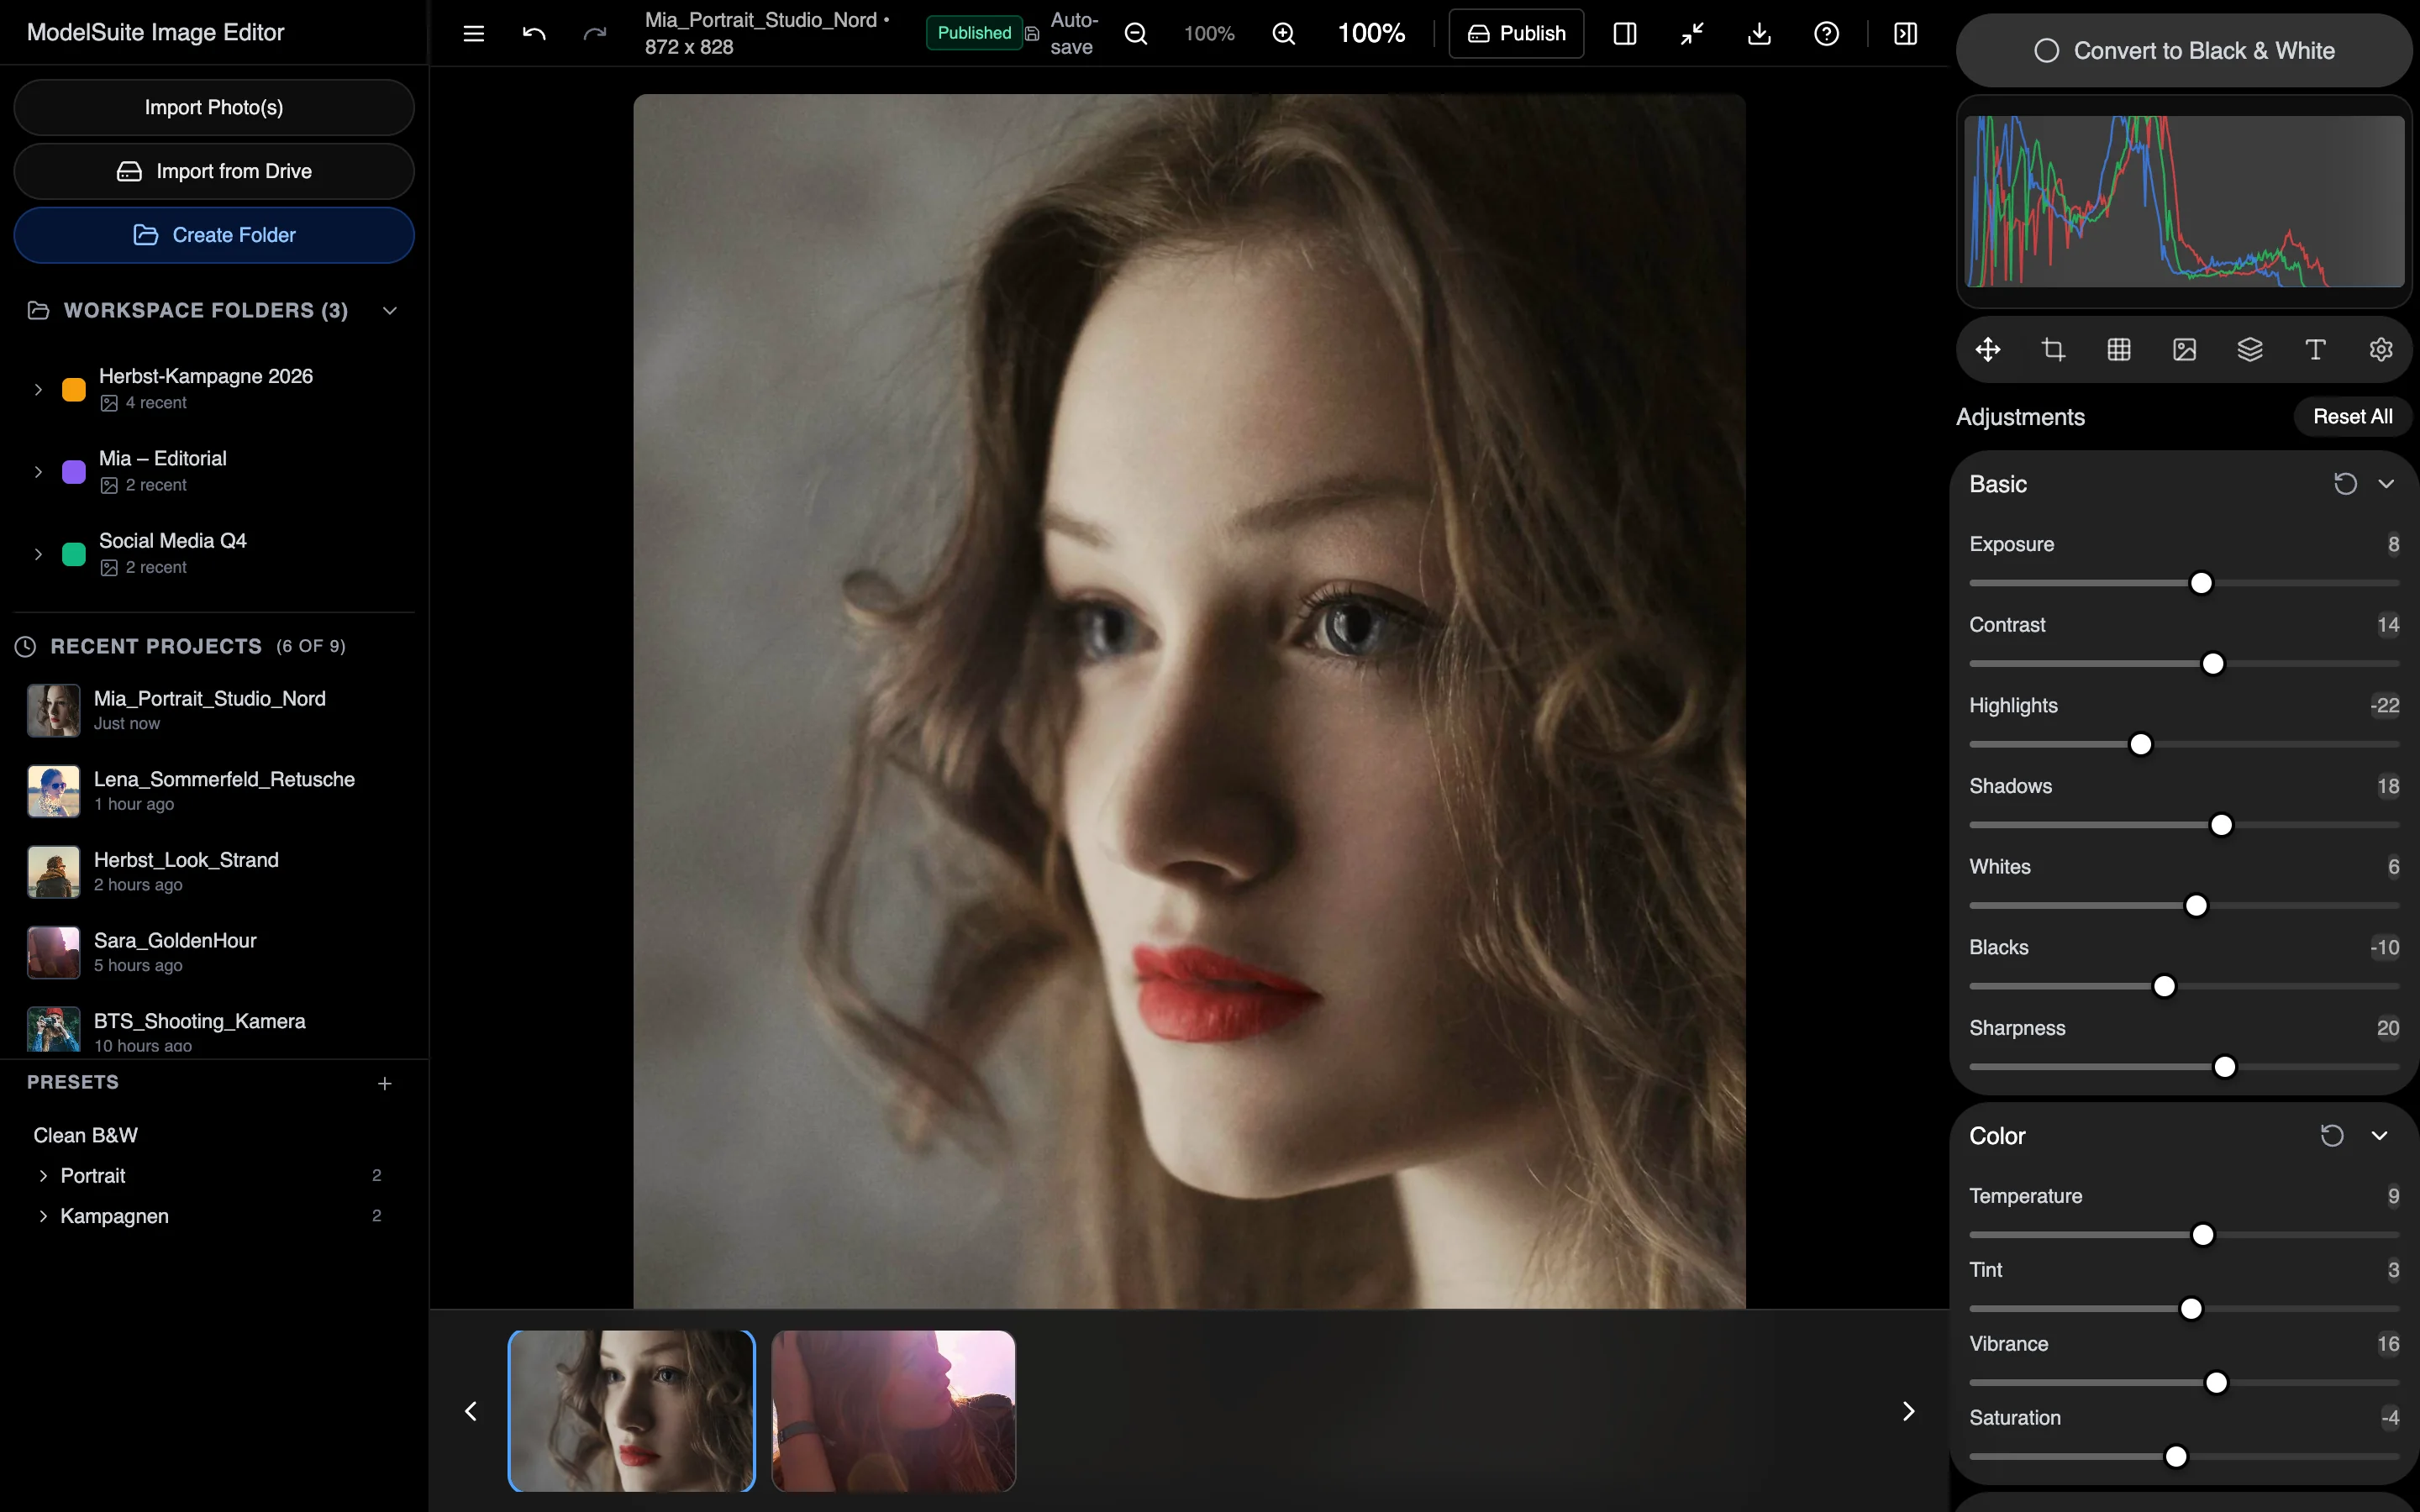
4 features
What the module does, point by point.
Exposure, curves, HSL, black & white, grain, vignette.
Masks, brushes and a skin-tone equalizer.
Save, organize, import and export your own looks.
JPEG, TIFF or WebP – straight back to Drive.
Drive + Image Editor workspace
Open images straight from Drive, edit them and publish them back.
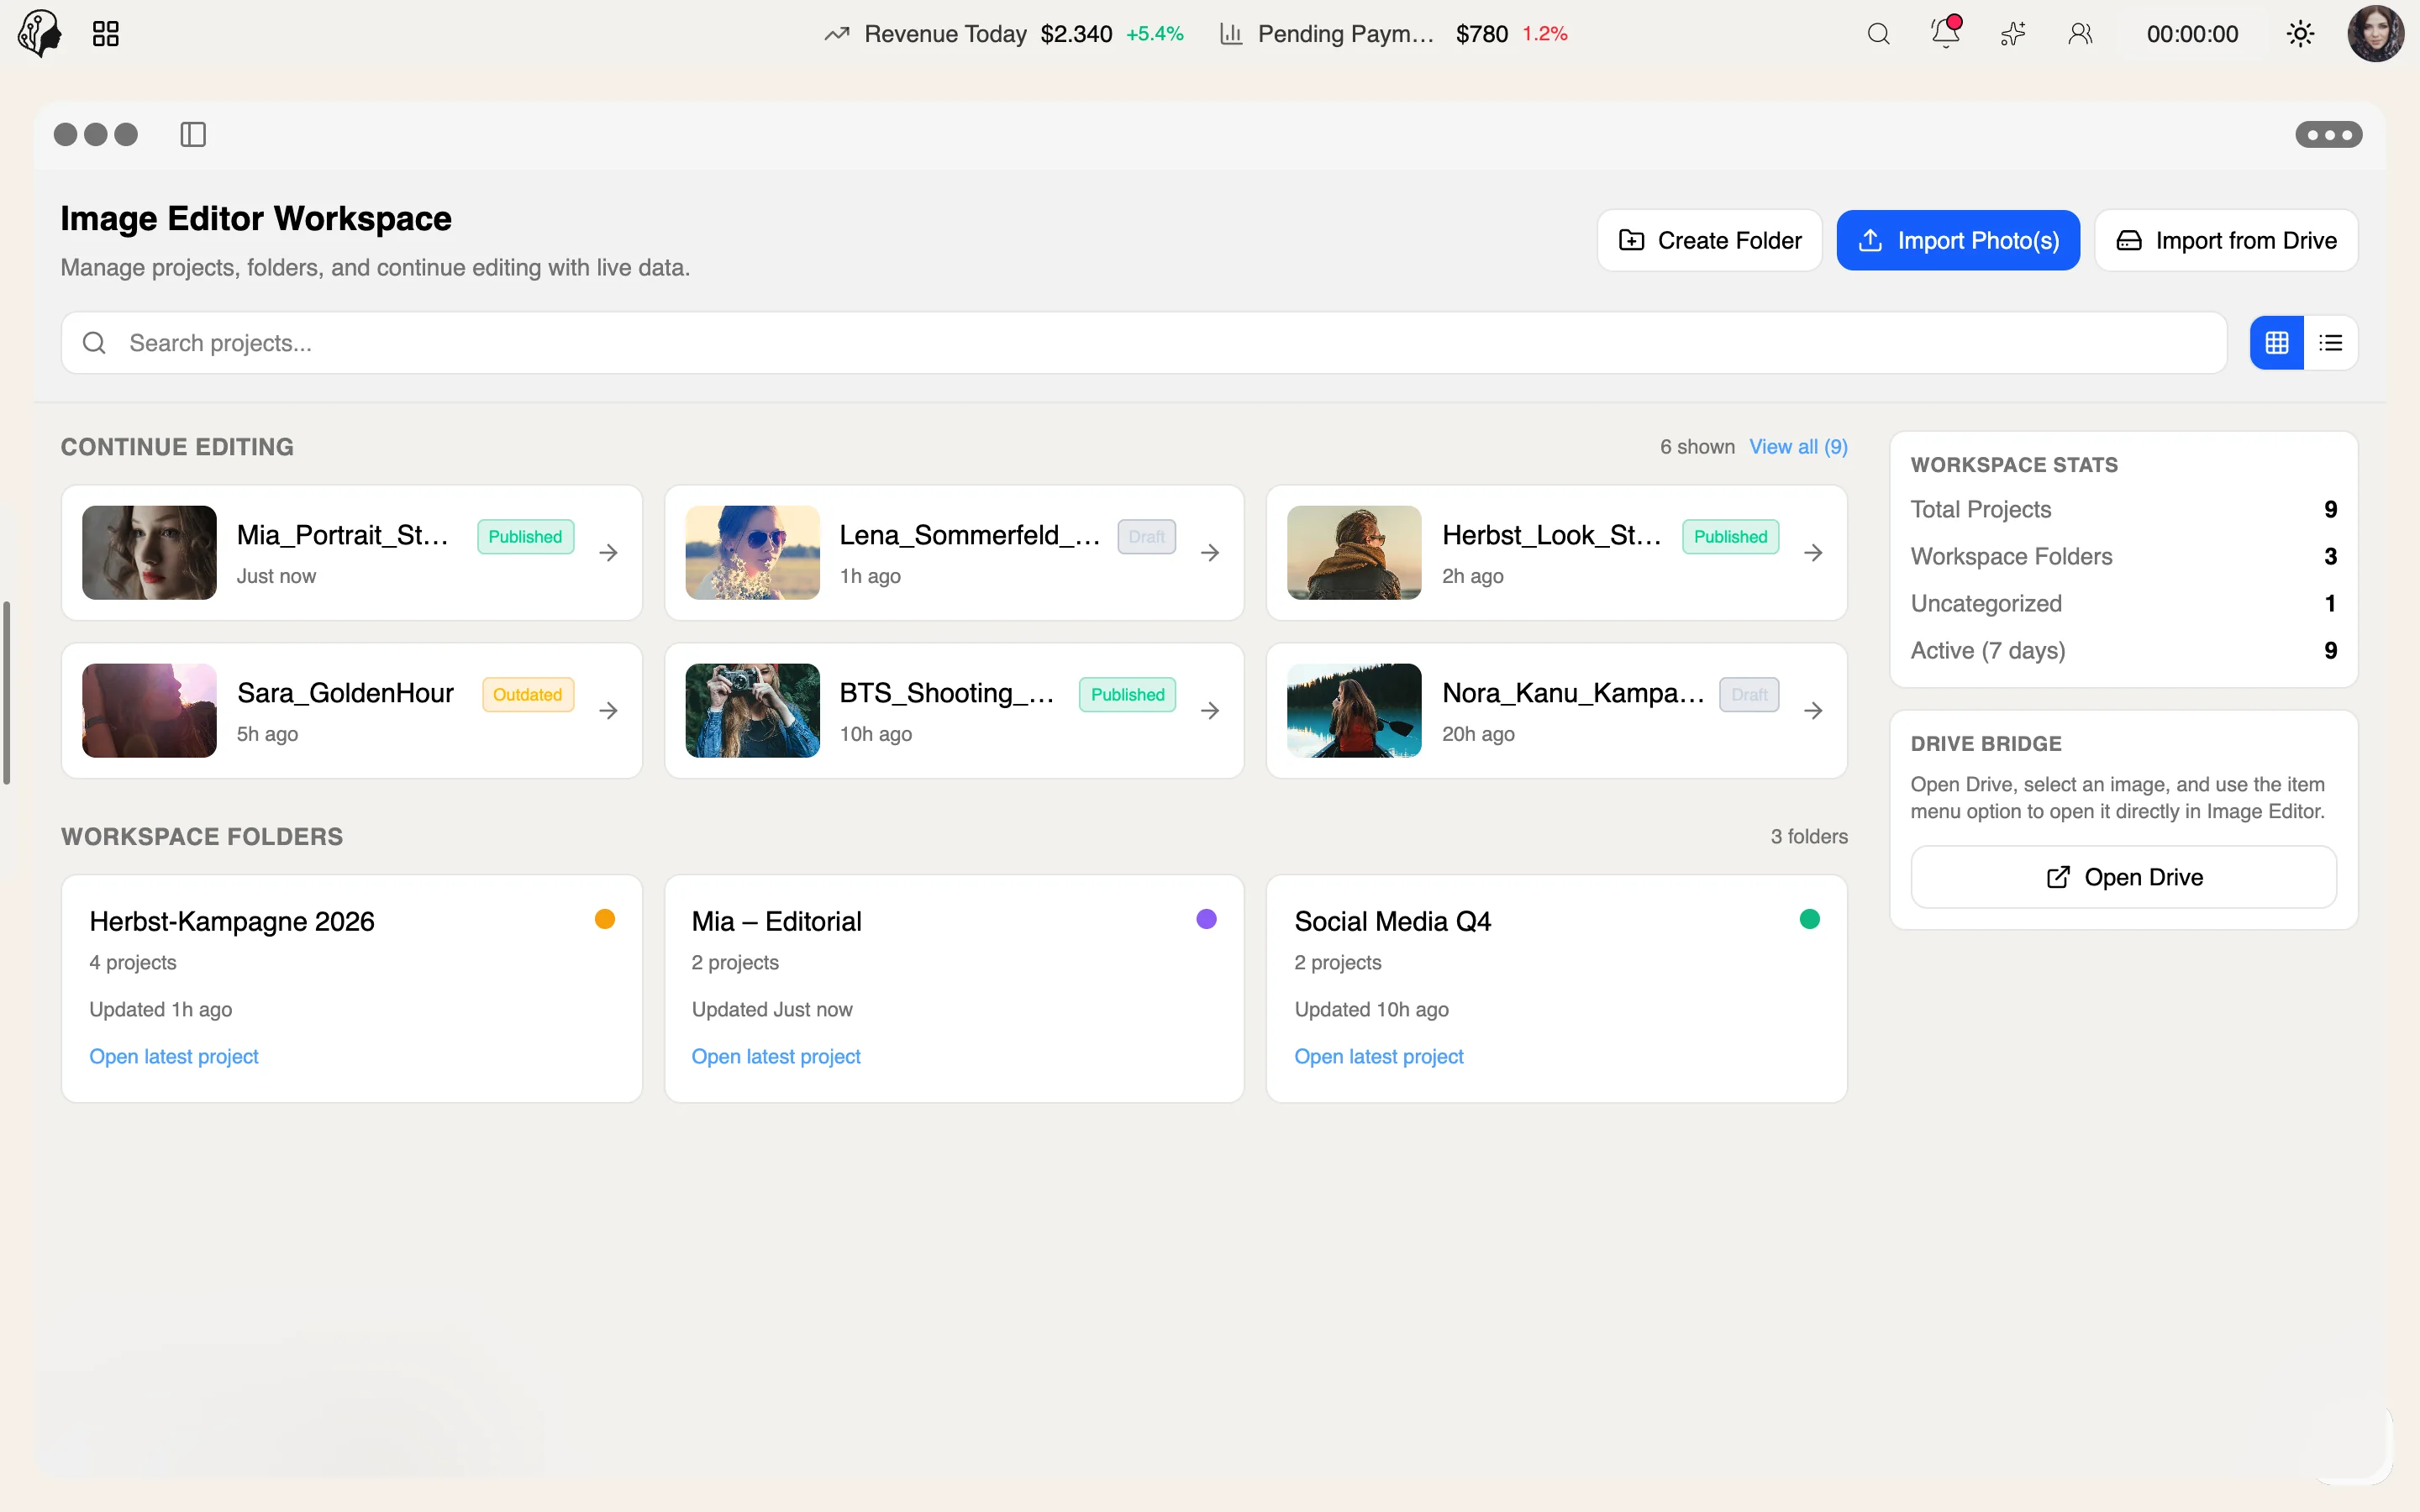
Three steps · no export detours
Load an image straight from the Drive into the editor – no download.
Exposure, curves, HSL, masks and skin-tone balancing – or apply one of your presets.
Back to the Drive as JPEG, TIFF or WebP, with a watermark.
No. The editor runs GPU-accelerated right in the browser – with the sliders you know from Lightroom.
Yes. Presets can be saved, organised, imported and exported, keeping the visual style consistent across every shoot.
Back to the Drive, with a watermark if you like. From there they move into the content plan or to the model.
Part of these workflows
Where the module shows up in everyday work – step by step.
Step 01 · Plan
Step 02 · Prepare
Step 03 · Align
Step 04 · Collect
Step 05 · Refine
Edit the selection in the Image Editor, export with watermark.
Step 06 · Publish
Step 01 · Research
Step 02 · Plan
Step 03 · Collect
Step 04 · Refine
Edit the selection in the Image Editor and export with a watermark.
Step 05 · Write
Step 06 · Check
By Invitation
A personal tour of the platform – tailored to your agency